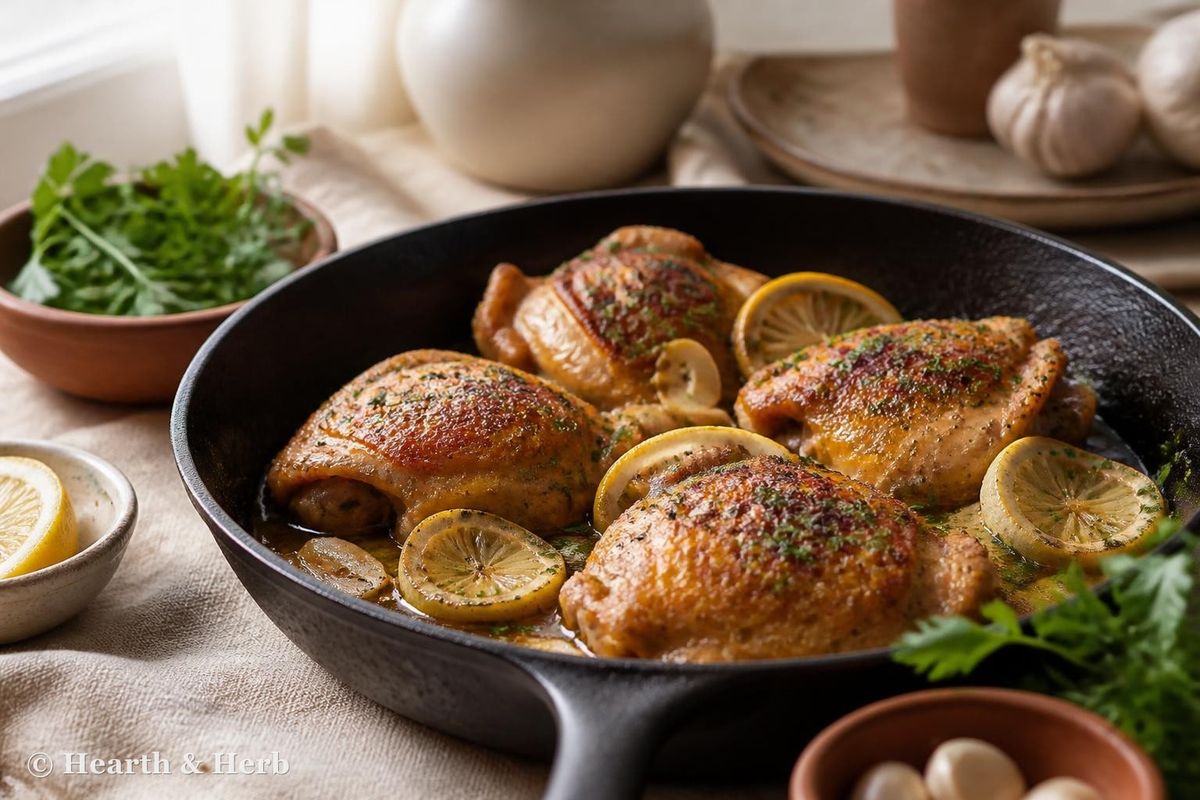
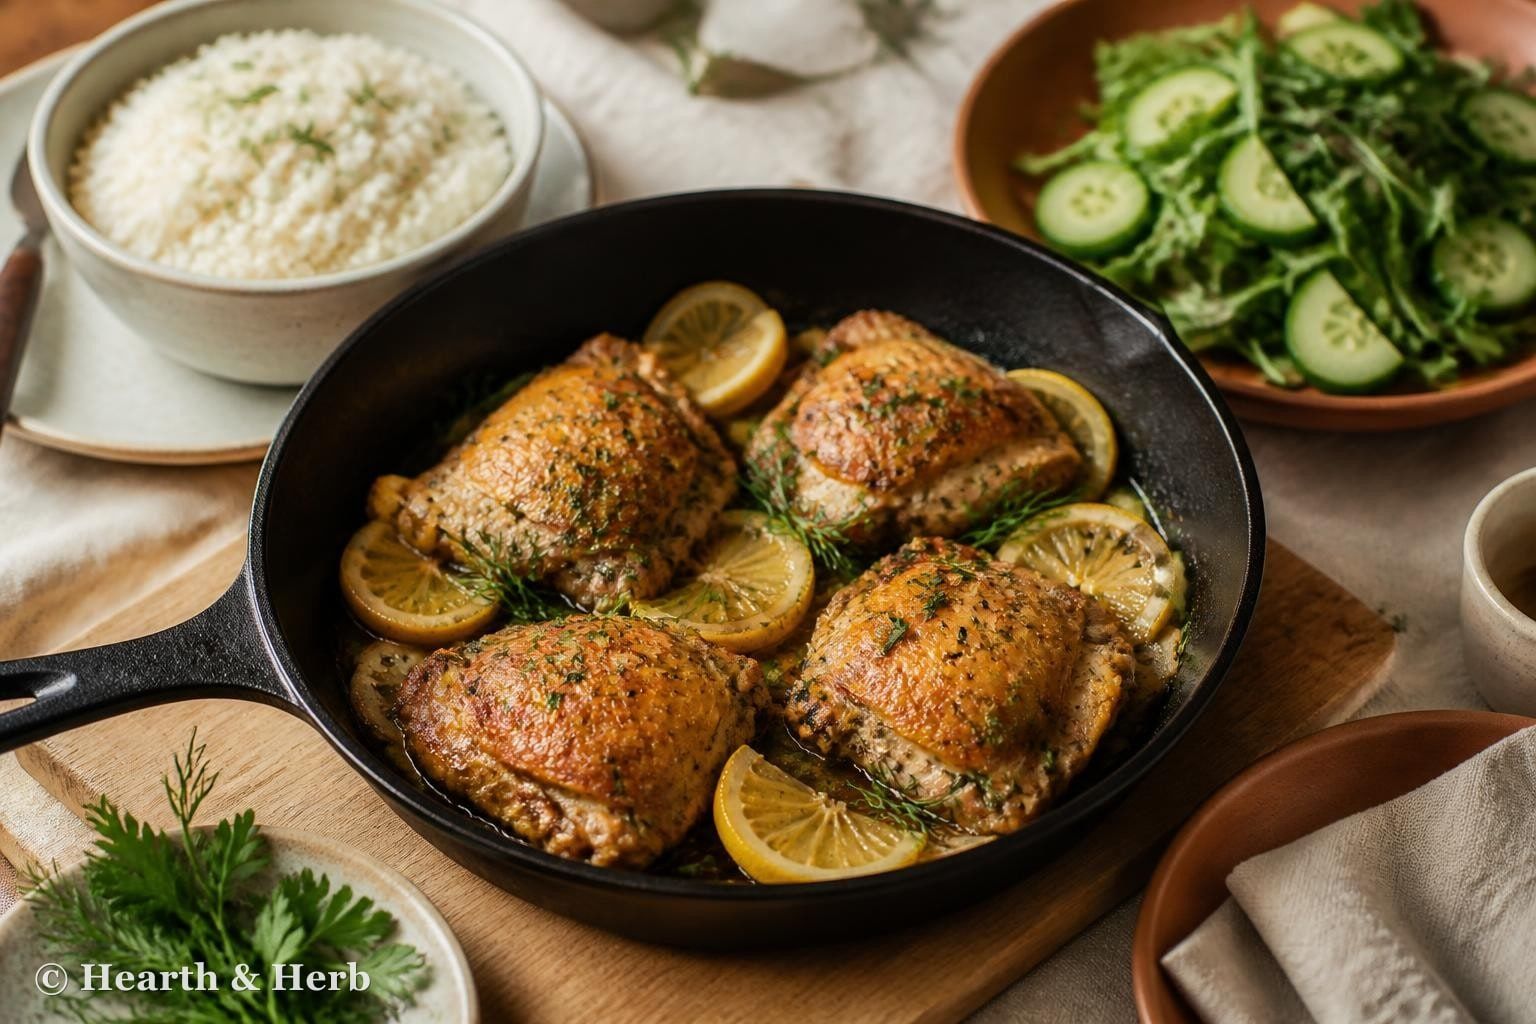
These lemon herb chicken thighs get shatter-crisp skin and juicy meat in one skillet. A cold-pan start and a quick garlic lemon pan sauce do all the work.
These lemon herb chicken thighs are what we cook when we want a dinner that feels special but takes almost no effort. The skin turns glassy and shatter-crisp, the meat stays juicy even if you forget it for a few minutes, and everything happens in one skillet, finished with a bright garlic and lemon pan sauce.
The secret is a little counterintuitive: the chicken goes into a cold pan, skin-side down. As the pan heats slowly, the fat under the skin melts and renders out before the surface browns, so the skin ends up thin and crackly instead of thick and rubbery. Then the skillet moves to a hot oven to cook the thighs through while the skin stays up and dry. The browned bits left behind become the base of a two-minute sauce.
We tested this method with bone-in and boneless thighs, hot-pan and cold-pan starts, and lemon added at every stage of cooking to find the version below. Lemon zest goes on before cooking for aroma, and the juice goes in at the very end, off the heat, so it tastes fresh rather than cooked. If you want to go deeper, our guide to crispy chicken skin explains the science step by step.
Why You’ll Love These Lemon Herb Chicken Thighs
Really crispy skin. The cold-pan start renders the fat slowly, so the skin crackles when you cut into it.
Juicy, forgiving meat. Thighs stay tender at higher temperatures than chicken breast, so a few extra minutes will not ruin dinner.
One skillet, about 45 minutes. Sear, roast and make the sauce in the same pan, with almost nothing to watch.
A bright pan sauce. Garlic, stock, fresh lemon juice and herbs turn the browned bits into something you will want to mop up.
Naturally gluten free and dairy free. No flour, butter or cream needed for flavour.
Here is what people say after making these lemon herb chicken thighs at home:
One reader, Sample reader, commented:The cold pan trick works. Crispiest chicken skin I have ever made at home, and no grease all over the stove. ★★★★★Example
One reader, Sample reader, commented:That pan sauce is so good. We ate it with rice and scraped the skillet clean. ★★★★★Example
One reader, Sample reader, commented:Made it on a Tuesday with what I had. Swapped dill for thyme and it was still perfect. ★★★★★Example
Layout preview: example comments. Only real reader comments, with their source, go here at launch.
Bone-In or Boneless Chicken Thighs: Which Is Better?
For this recipe, choose bone-in, skin-on chicken thighs. The skin is the whole point: it protects the meat while it cooks and turns into that crisp, golden layer. The bone slows the cooking slightly and helps the meat stay juicy, which gives you a wider window for perfect results. Bone-in thighs are also usually the cheapest cut of chicken in the store.
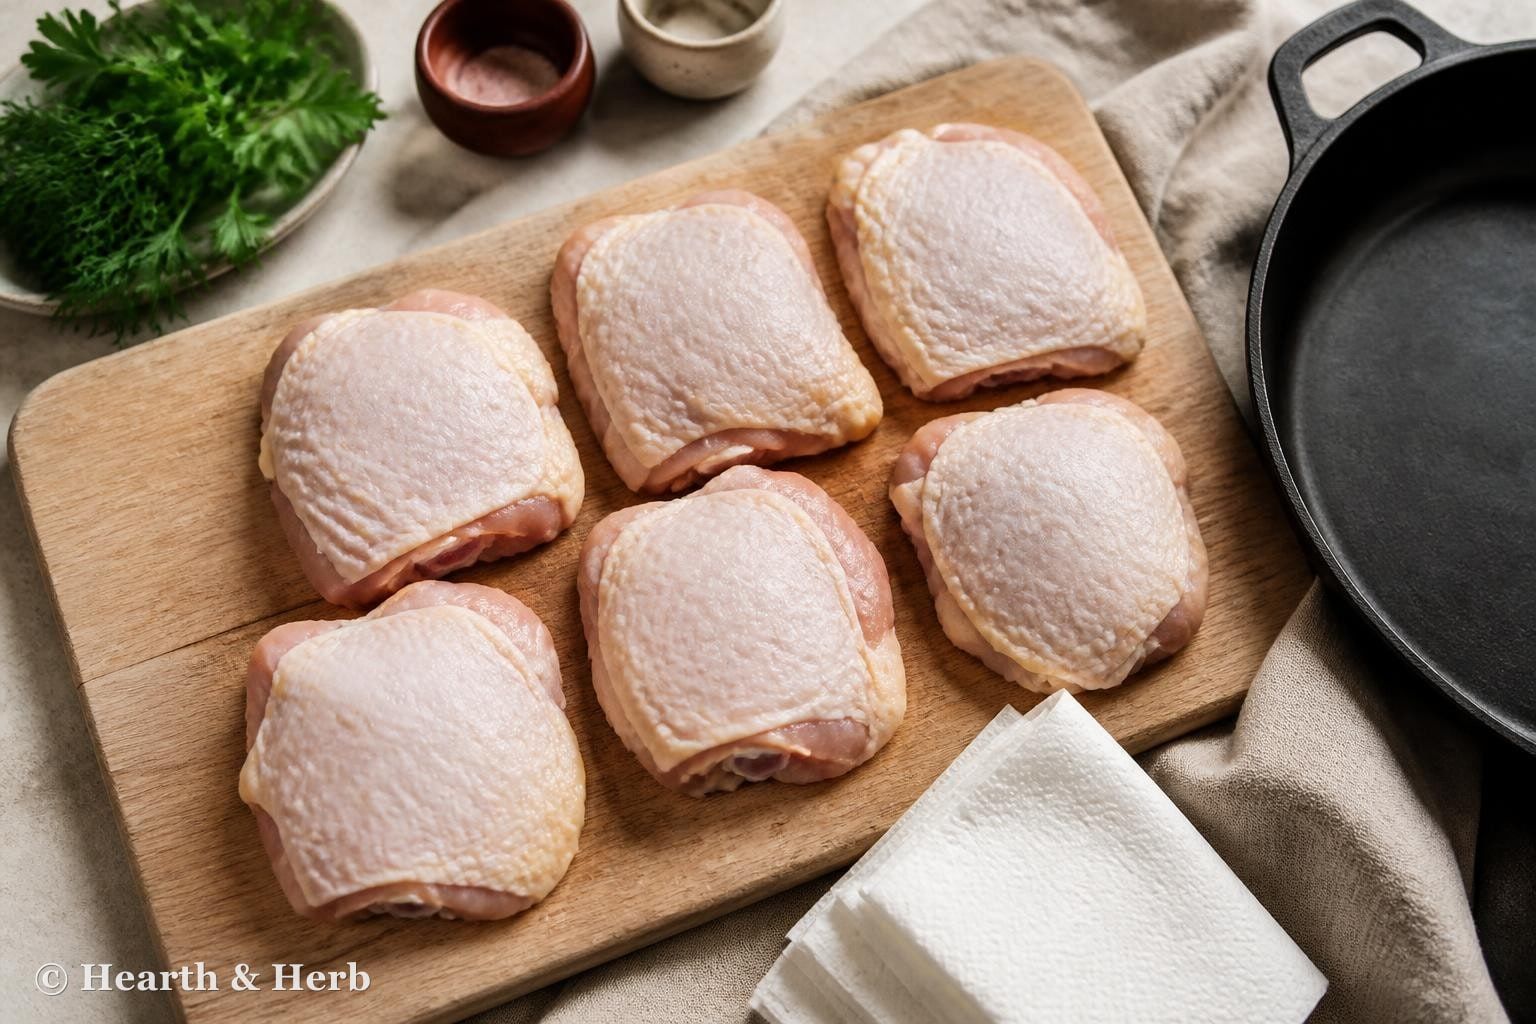
Boneless, skinless thighs will work in a pinch, but they cook much faster and will never crisp the same way, so treat them differently (see the FAQ below). Whatever you buy, look for thighs of a similar size so they finish at the same time, and buy halal-certified chicken if that matters to you, as it does to us. Before cooking, pat the skin very dry with paper towels: moisture is the enemy of crispy skin.
Key Ingredients for Crispy Lemon Herb Chicken Thighs
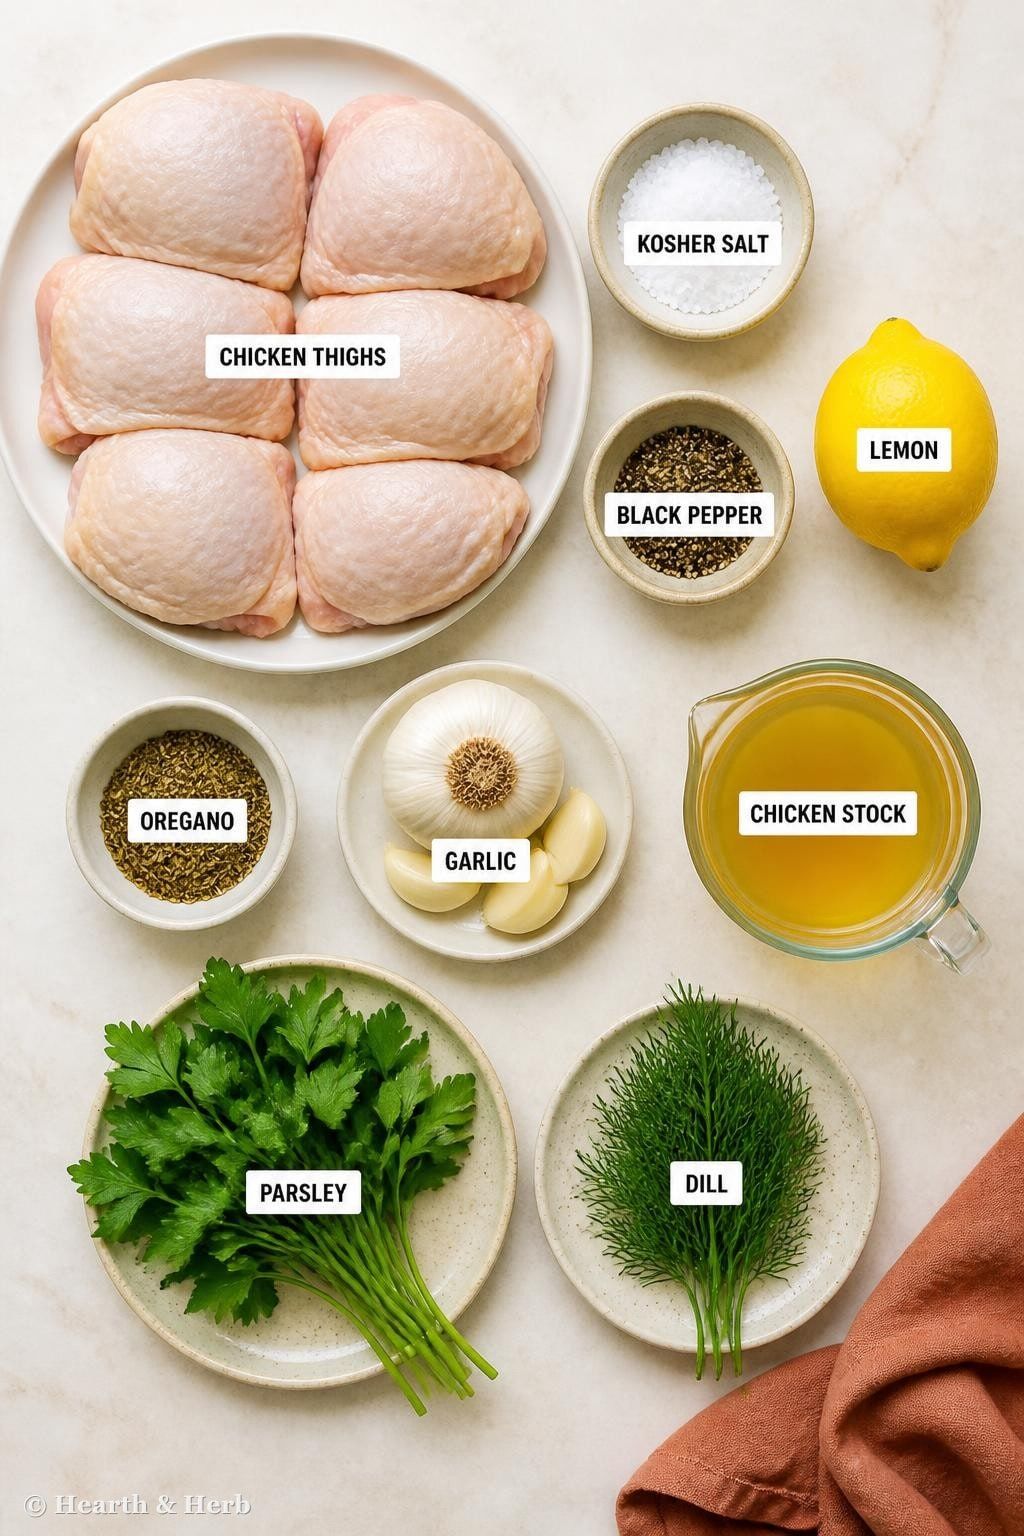
The list is short and every ingredient earns its place. Here is what each one does for these lemon herb chicken thighs:
Bone-in, skin-on chicken thighs: Juicy, flavourful and hard to overcook. Six thighs fit snugly in a 12-inch skillet.
Kosher salt: Coarse flakes are easy to spread evenly. Salting even 15 minutes ahead seasons the meat and dries the surface for better browning. With fine table salt, use about half the amount.
Fresh lemon: Used twice. The zest goes into the seasoning for aroma, and the juice goes into the sauce at the end for brightness.
Dried oregano: Stands up to the heat of the pan better than fresh herbs, which would burn on the skin.
Garlic: Thinly sliced and cooked in the rendered chicken fat until just golden, it becomes the base of the sauce.
Chicken stock: Lifts the browned bits from the pan and gives the sauce body. Low-sodium stock lets you control the salt; check the label for halal certification.
Fresh parsley and dill (or thyme): Stirred in off the heat so they stay green and fresh.
Start skin-side down in a cold skillet. Lay the thighs in the pan, then set it over medium heat and leave them alone for 15 to 18 minutes while the fat renders and the skin turns deep golden.
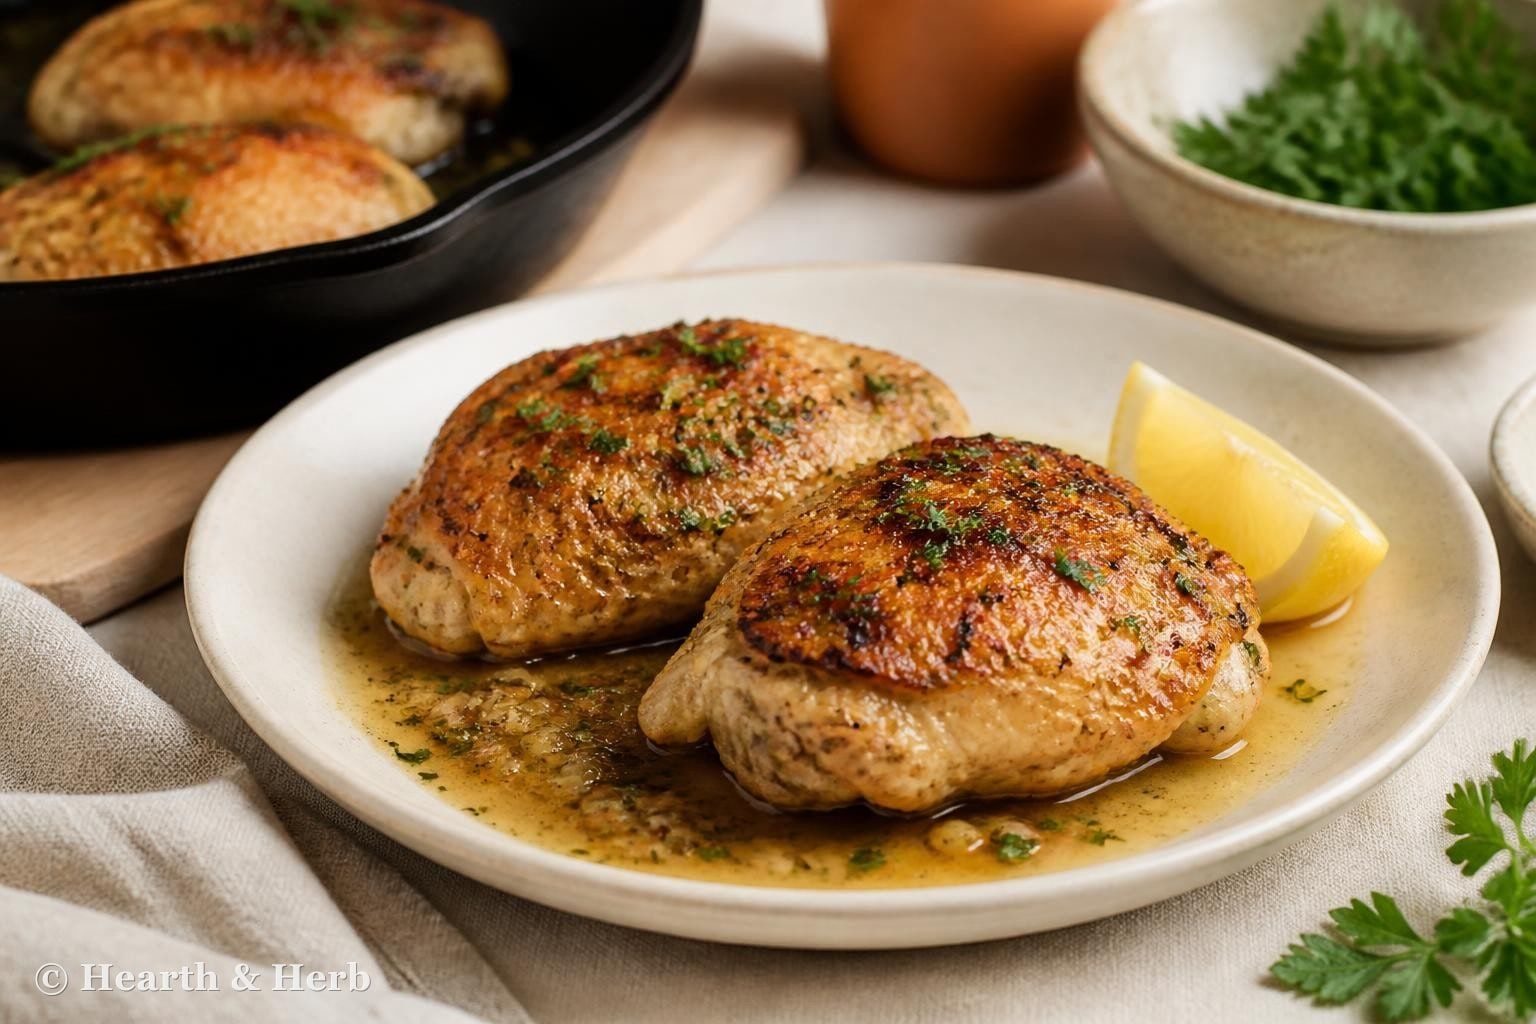
Make the pan sauce. Rest the chicken, pour off most of the fat, then cook sliced garlic, add stock and scrape up the browned bits. Finish off the heat with lemon juice and herbs.
Chicken is safe at 165°F (74°C), but thighs are at their best a little higher. Between 175°F and 185°F (79°C to 85°C) the connective tissue softens and the meat becomes tender and juicy instead of springy. Check with an instant-read thermometer in the thickest part, not touching the bone. The juices should run clear, and the meat near the bone should no longer look pink.
For the skin, trust your eyes and ears: it should be deep golden brown all over, and it will release from the pan on its own when it is ready. If it sticks, give it another two or three minutes before trying again.
How to Store, Reheat and Freeze Chicken Thighs
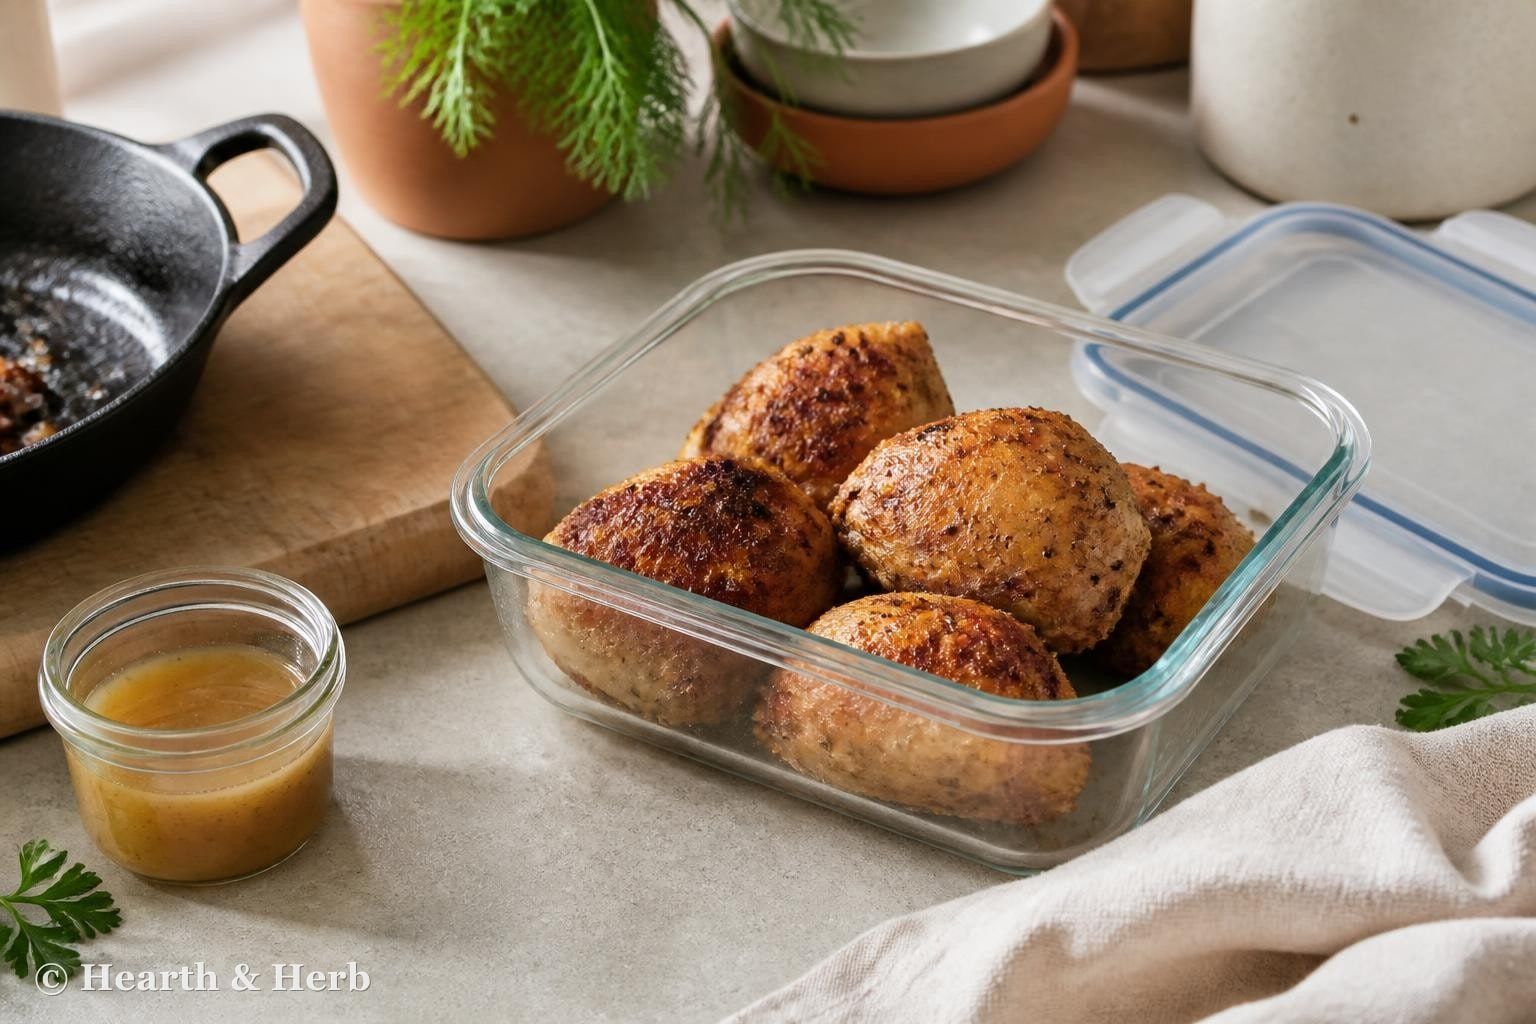
Let leftover lemon herb chicken thighs cool, then keep them in an airtight container in the fridge for up to 3 days. Store the pan sauce separately in a small jar so the skin does not sit in liquid. To bring the crunch back, reheat the thighs skin-side up on a rack or sheet pan in a 400°F (200°C) oven for 10 to 12 minutes. The microwave works for the meat but will soften the skin.
Cooked chicken thighs also freeze well, so a double batch is an easy way to get ahead:
Cool the cooked thighs completely, then wrap each one in parchment or foil.
Pack them into a freezer bag with the air pressed out, and freeze the sauce flat in a separate bag.
Freeze for up to 3 months. Thaw overnight in the fridge, then re-crisp in a 400°F (200°C) oven.
Can I make lemon herb chicken thighs with boneless, skinless thighs?
Yes, but cook them differently. Sear them in a hot pan with 1 tablespoon of oil for 4 to 5 minutes per side until they reach 175°F (79°C), skip the oven, then make the sauce in the same pan. They will be tender and flavourful, but not crisp.
What temperature should bone-in chicken thighs be cooked to?
Chicken is safe at 165°F (74°C), but bone-in thighs are most tender at 175°F to 185°F (79°C to 85°C), when the connective tissue has softened. Check the thickest part with an instant-read thermometer, not touching the bone.
Is it okay if chicken thighs are a little pink?
Sometimes. Meat right next to the bone can stay slightly pink or red even when fully cooked, because of pigment in the bone. Go by temperature, not colour: if the thickest part reads at least 165°F (74°C) and the juices run clear, it is cooked.
Should chicken thighs be covered when baking?
Not for this recipe. Roasting uncovered keeps the skin dry and crisp; covering traps steam and makes it soft. Rest the cooked thighs uncovered too, skin-side up.
Can you cook chicken thighs from frozen?
Not with this method. Frozen thighs release water, so the skin steams instead of crisping and the outside overcooks before the centre is done. Thaw them overnight in the fridge, then pat them very dry before seasoning.
These lemon herb chicken thighs get shatter-crisp skin and juicy meat in one skillet. A cold-pan start and a quick garlic lemon pan sauce do all the work.
As an Amazon Associate we earn from qualifying purchases.
Method
01
Heat the oven to 425°F (220°C) with a rack in the middle.
02
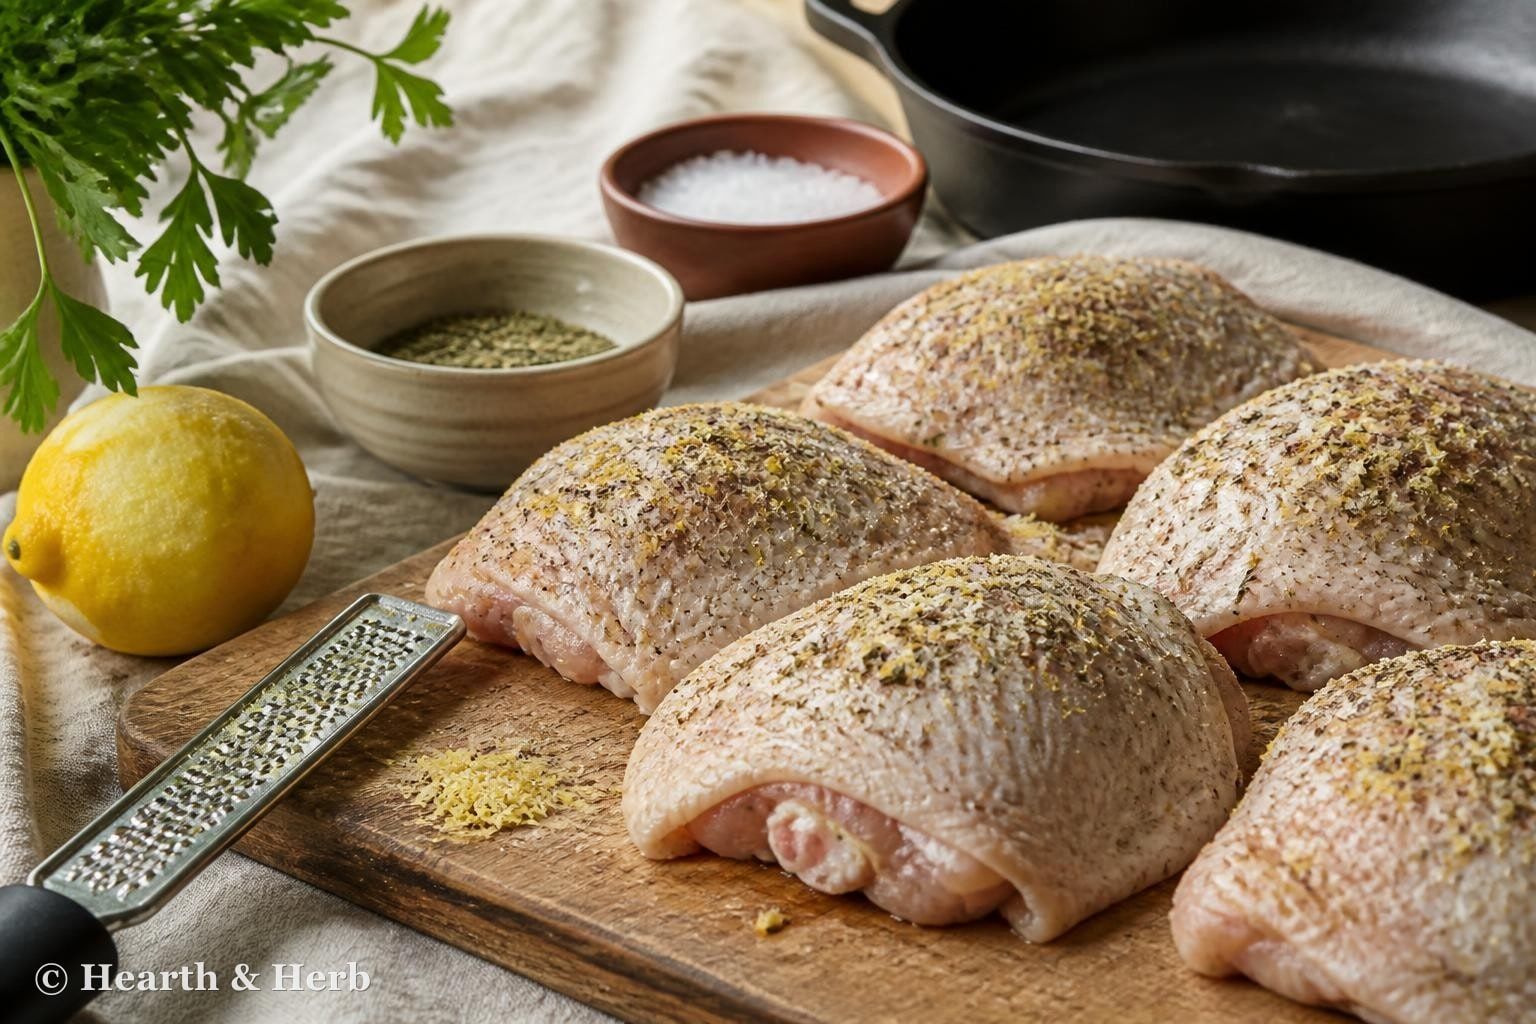
Pat dry the chicken thighs on all sides with paper towels, pressing firmly on the skin. Mix the salt, pepper, lemon zest and oregano in a small bowl and rub it evenly over both sides of each thigh. If you have time, leave them uncovered for 15 minutes (or up to 24 hours in the fridge) so the salt can season the meat.
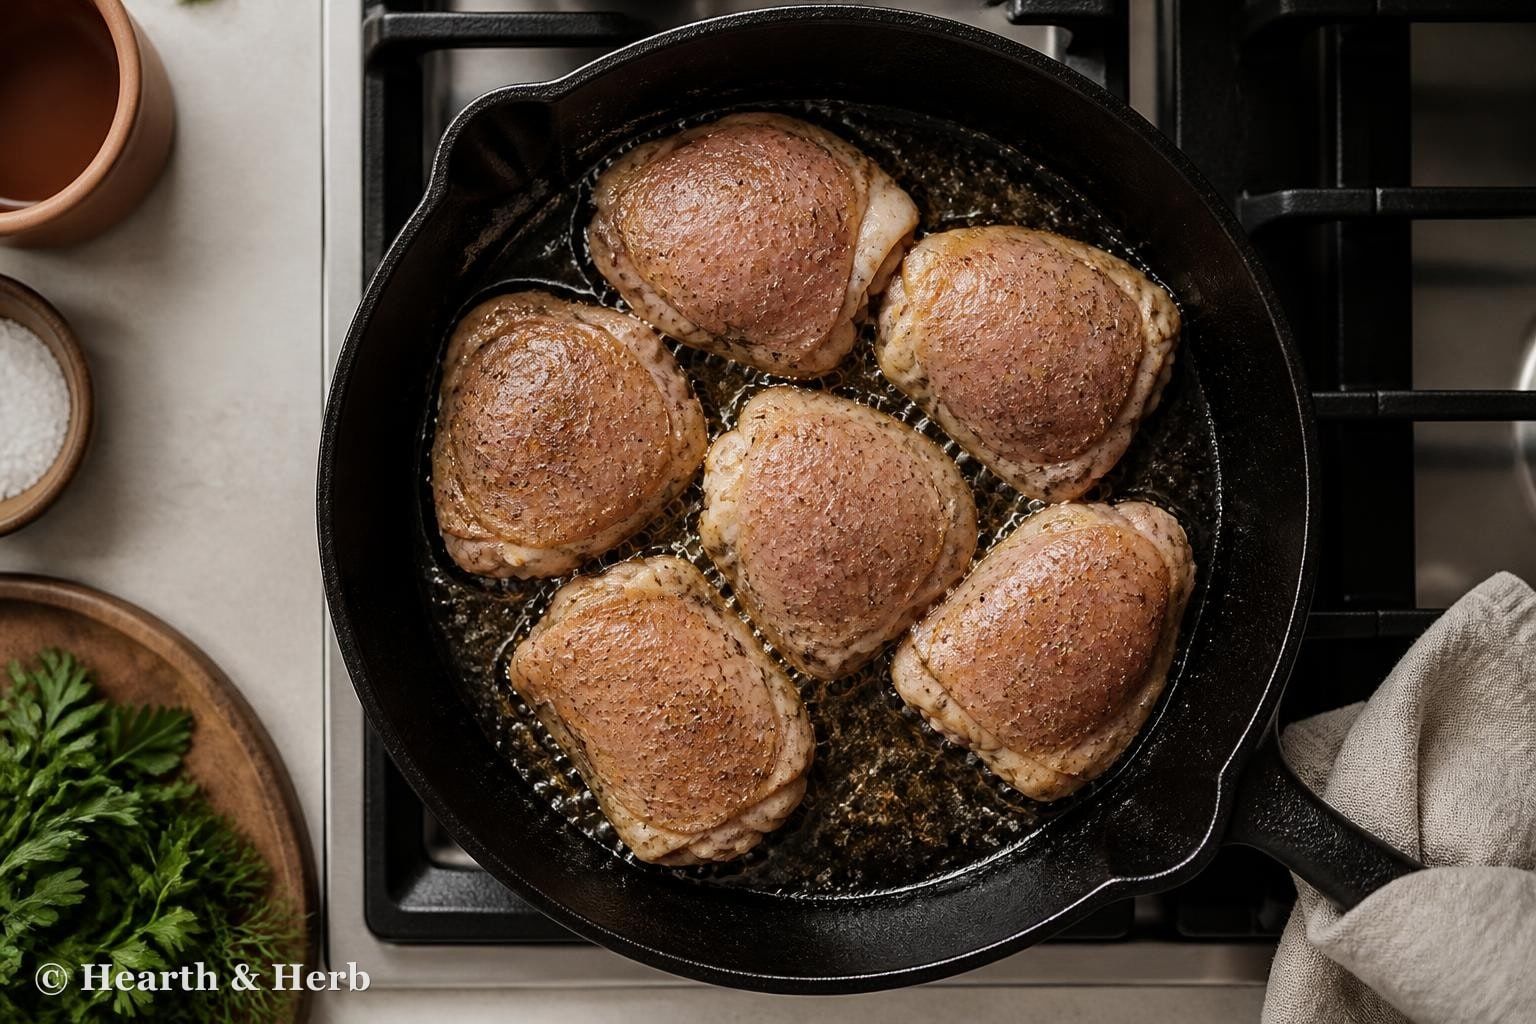
Place the thighs skin-side down in a cold, 12-inch oven-safe skillet, fitting them snugly in one layer. Set the pan over medium heat and cook without moving them for 15 to 18 minutes, until the fat has rendered and the skin is deep golden brown and releases easily from the pan. If the fat starts to smoke, lower the heat slightly.
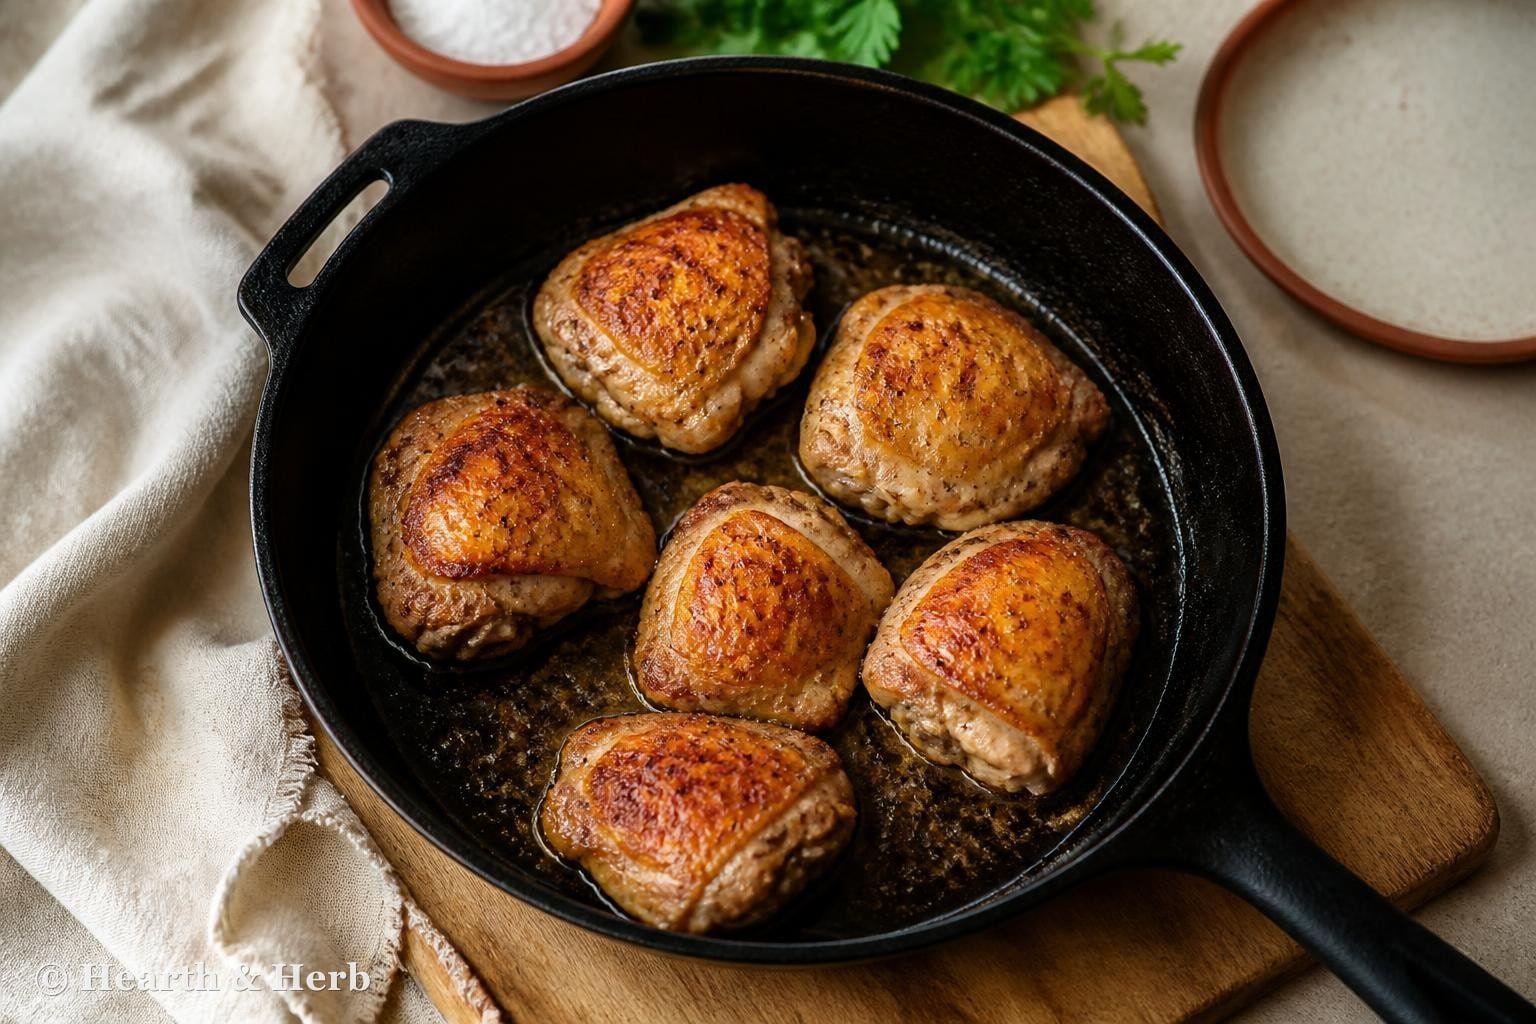
Flip the thighs skin-side up with tongs and transfer the skillet to the oven. Roast for 10 to 12 minutes, until an instant-read thermometer in the thickest part (not touching the bone) reads 175°F to 185°F (79°C to 85°C).
Rest the chicken on a plate or board, skin-side up and uncovered, for 5 minutes while you make the sauce. Covering it would trap steam and soften the skin. Use an oven mitt on the skillet handle: it will be very hot.
06
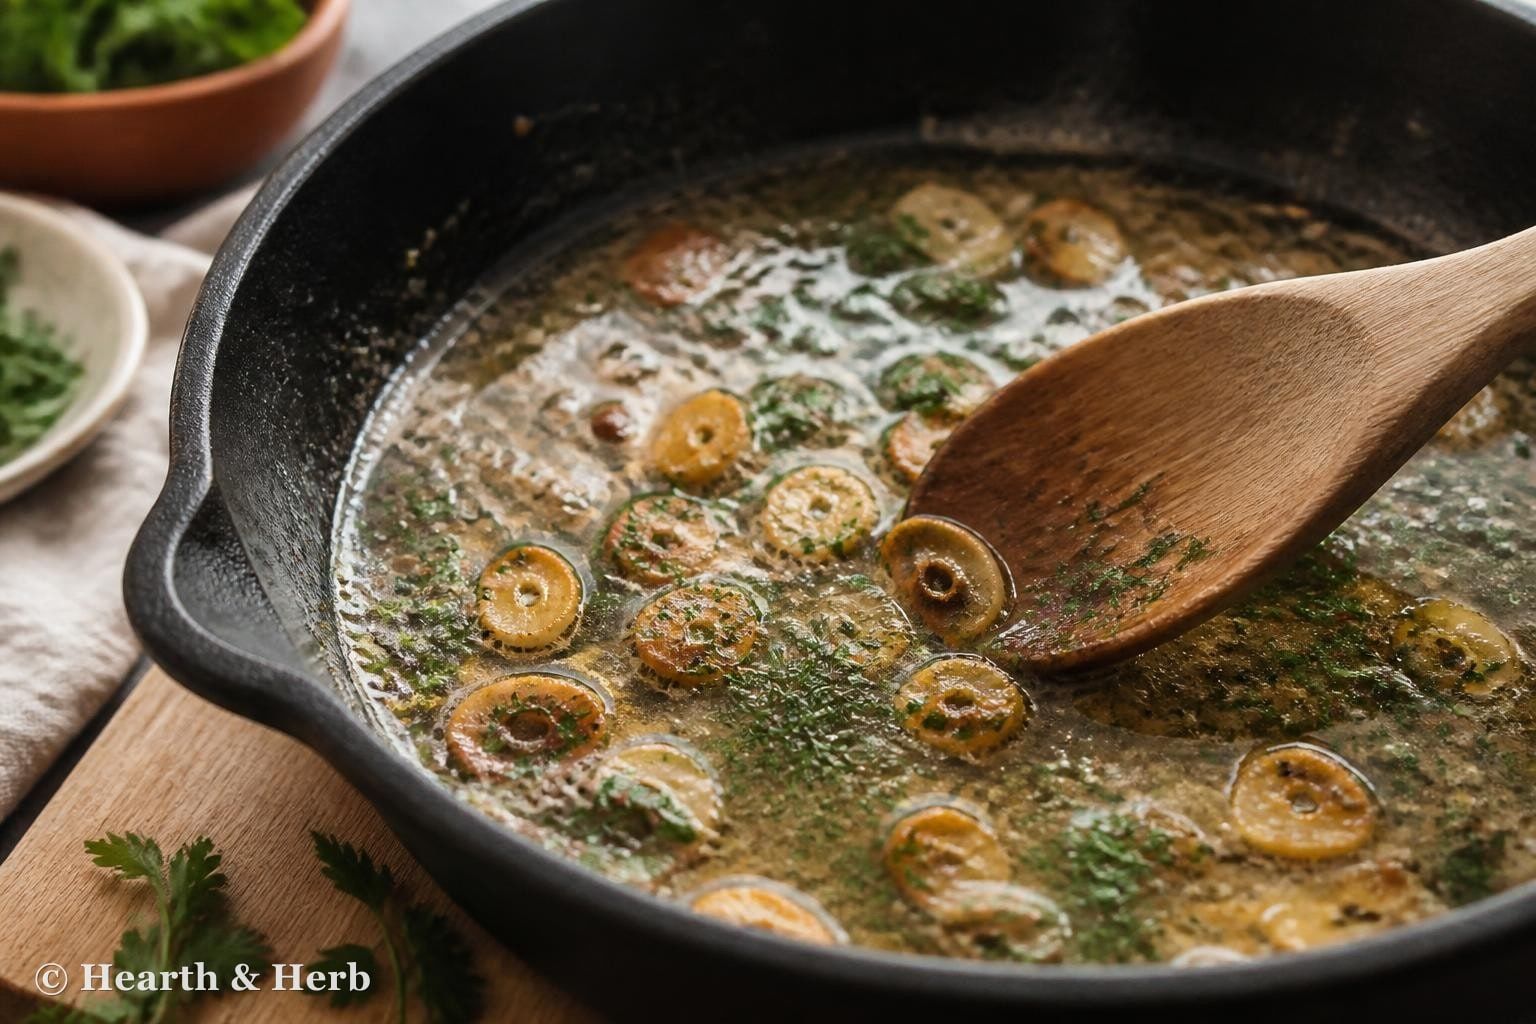
Pour off all but about 1 tablespoon of the fat from the skillet. Add the sliced garlic and cook over medium heat, stirring, for about 1 minute, until fragrant and just turning golden. Do not let it brown deeply or it will taste bitter.
07
Add the stock and scrape up all the browned bits from the bottom of the pan with a wooden spoon. Simmer for 2 to 3 minutes until slightly reduced, then take the pan off the heat and stir in the lemon juice, parsley and dill. Taste and add a pinch of salt if needed.
Spoon the sauce onto the plates or back into the skillet around the chicken, not over the skin, so it stays crisp. Serve right away with lemon wedges and extra herbs.
Comments & reviews (5)
★★★★★★★★★★4.8 out of 5 from 4 ratings
Layout preview: these are sample comments and ratings. At launch only approved reader comments appear here.
Sample reader
★★★★★★★★★★ExampleThe cold pan start is genius. Skin was like glass and there was hardly any splatter.
The Hearth & Herb Kitchen replied
So happy it worked for you! It surprises everyone the first time.
Sample reader
★★★★★★★★★★ExampleDry brined them overnight like the note says. Best chicken thighs we have had in ages.
Anonymous
★★★★★★★★★★ExampleReally good. My skillet only fit 4 thighs so I halved the sauce and it was fine.
Sample reader
ExampleCan I use boneless thighs for a faster dinner?
The Hearth & Herb Kitchen replied
Yes: sear them 4 to 5 minutes per side in a little oil and skip the oven. See the FAQ for details.
Sample reader
★★★★★★★★★★ExampleServed with the smashed potatoes. My family asked for it again the next week.